Pages

Showing posts with label iron. Show all posts

Monday, 9 July 2012

A Cozy For Geraldine...

Hey guys !
Bonjour tout le monde !

Been very busy doing a thousand different things here.  Organizing, building, sewing, crafting, gifting, reading, surfing the blogs, etc.
Je suis vraiment occupée à faire des milliers de choses différentes en même temps ici.  Organiser, construire, coudre, créer, faire des cadeaux, lire, surfer les blogs, etc.

So I am going to do a couple of posts to separate everything.
Je vais donc faire quelques entrées différentes pour séparer le tout.

This is a cozy for Geraldine, i.e. my iron.  Earlier, I posted about my A-MA-ZING intelligent Oliso iron.  And it is ORANGE !  So since it is that intelligent and efficient, I figured it must be a woman !  So I named her Geraldine.
Ceci est un étui pour Géraldine, i.e. mon fer à repasser.  J'ai déjà fait une entrée sur mon INCROYABLE fer intelligent Oliso, qui est ORANGE !  Alors, puisqu'il est intelligent et efficace, il est sûrement une ELLE.  Je l'ai donc baptisée Géraldine.

Now, I saw this really nifty contraption to carry a hot iron (especially to quilting retreats) and I thought it was really clever.  Of course, this is a commercial pattern and it comes with ironing board material (the grey stuff) which I already had.  Since I did not want to purchase more material, I figured out how to make it.  It is kind of origami really.  I also had never binded a quilt, moreover with 120 degree angles !  I found many tutorials for mitered 90 degree corners but zip for 120 degree obtuse angles...  So I had to fiddle around with it.
Alors, j'ai vu sur le net un truc pas mal chouette pour transporter un fer chaud (surtout pour les retraites de courtepointe) et j'ai trouvé ça vraiment intelligent.  Évidemment, c'est un patron vendu qui vient avec du tissu de planche à repasser (le tissu gris) que j'ai déjà.  Puisque je ne voulais pas en racheter, j'ai figuré comment en faire une moi-même.  En fait, c'est comme de l'origami.  Je n'avais jamais fait de contour de courtepointe non plus, et surtout pas avec des angles de 120 degrés...  J'ai trouvé plein de tutoriels sur les coins de 90 degrés en onglets mais rien sur les angles obtus de 120 degrés...  J'ai donc dû fignoler.

On with the pics:
Voici les photos:

Fisrt of all, here is Geraldine, for those of you who don't know her:
Premièrement, voici Géraldine, pour ceux et celles qui ne la connaissent pas:


If you can see her little "feet", they go up when I touch the handle only slightly and they go down when I let the handle go.  It is magical and SO useful and efficient.
Si vous voyez les petits "pieds", ils montent lorsque j"effleure la poignée et ils redescendent lorsque je lâche la poignée.  C'est magique et tellement utile et efficace.

So here she is in her caddy:
Alors la voici dans son étui.


It looks like a cute little purse !  Ça a l'air d'un joli sac à main !

Here is the caddy open: Voici l'étui ouvert:


My version is a bit different than the commercial pattern in a few ways:
Ma version est un peu différente du patron commercial:

- It is bigger to accommodate Geraldine and her LONG cord
Plus gros pour accommoder Géraldine et son TRÈS LONG cordon d'alimentation
- My handles are made of 1/2 inch piping, instead of flat
Mes poignées sont faites avec un passepoil de 1/2 pouce, au lieu de plates

It is a hexagonal shape with strategically placed seams that act as folding lines.  Once you put the iron in the center, it almost folds itself.  Here is a video explaining it.  Oh, and it also serves as an ironing mat !
C'est un hexagone avec des coutures placées stratégiquement qui agissent comme lignes de plis.  Une fois le fer au centre, l'étui se plie presque tout seul.  Voici une vidéo qui explique le tout.  Oh, et l'étui sert aussi de matelas de repassage.

Here are some details:
Voici quelques détails:

Re-watching the video just now, I notice that my closures are not a the right spot...  But it works !
En regardant la vidéo encore, je me rends compte que j'ai mal placé mes boutons et anneaux...  Mais ça fonctionne !

You can see the placement of the button and of the loop.  The loop is an elastic (I got from old underwear - I reuse EVERYTHING !) and the button is a cute flower bling.
Vous pouvez voir l'emplacement du bouton et de l'anneau.  L'anneau est un élastique (je l'ai récupéré d'une paire de sous-vêtements - je réutilise TOUT !) et le bouton est une jolie fleur brillante.

I made my own bias tape using this tutorial by MADE.  Dana is a wiz at explaining and her blog is one of the first I started to follow regularly.  If you don't know it yet, go check it out !  In fact, making bias is ADDICTIVE !  I am looking all over the place for cute fabric to make some.  And eventually, if I use a lot, I will probabley buy this gem from Simplicity. But for now, an iron and this little gizmo work fine.
J'ai fait mon propre biais avec ce tutoriel par MADE.  Dana est une experte à expliquer et son blog est un des premiers que j'ai commencé à suivre assiduement.  Si vous ne le connaissez pas, allez y faire un tour !  En fait, faire du biais est ADDICTIF !  Je cherche du joli tissu partout pour en faire d'autre.  Et éventuellement, si je commence à en utiliser plus, je vais acheter ce bijou de Simplicity.  Mais pour maintenant, un fer et le petit bidule fonctionnent très  bien.

So here is close-up of the closure:
Voici le bouton et son anneau:


As I did not have instructions, I forgot to sew in the elastic loop under the bias.  So I hand sewed it and, to hide the threads, I used a colour coordinated button.  I also burned the ends of the elastic to prevent fraying.  The loop needs to be placed this way to make the opening easier to attach the button:
Et comme je n'avais pas d'instructions, j'ai oublié de coudre l'élastique sous le biais.  Je l'ai donc cousu à la main et, pour cacher les fils, j'ai utilisé un bouton de couleur coordonnée.  J'ai aussi brûlé les bouts de l'élastique pour empêcher l'effilochage.  On doit placer l'anneau de cette façon pour en faciliter l'ouverture:


To make the handles, I used 1/2 inch piping:
Voici le passepoil de 1/2 pouce utilisé pour faire les poignées:


It is nice but very difficult to sew...  I bought a "large" piping sewing foot but I had to finagle my way into placing this thick cord under.  My trusty AWL came in handy.  In fact, this is a very useful instrument in a sewing room if you are a serious sewer.  I have the Clover ball point one.  It becomes like your third hand and it slips under the foot while sewing to replace those pesky folds.
C'est joli mais très difficile à coudre... J'ai acheté un pied de passepoil "large" mais j'ai dû fignoler pour garder le cordon sous le pied.  J'ai utilisé mon fidèle poinçon "awl" à bout rond de Clover, un instrument extrêmement utile pour les couturières sérieuses.  Il devient comme la troisième main et il est assez mince pour glisser sous le pied pendant la couture, pour replacer le tissu qui plisse...


So, as I said, I have never binded a quilt.  I really had to think hard about those angles.  If you are interested in knowing how to do them,  just ask me.  I could make some kind of a tutorial maybe...
Et comme j'ai déjà dit, je n'ai jamais fait le bord d'une courtepointe.  J'ai vraiment dû penser à ces angles.  Si vous êtes intéressé-e de savoir comment j'ai fait, faites-le moi savoir.  Je pourrais faire un tutoriel, peut-être...

Here is what I learned:
Voici ce que j'ai appris:

- Sewing batting material is tricky.  I used my walking foot and EVEN then, I had puckers.
Coudre du matelassé est difficile.  Même si j'ai utilisé mon pied "marcheur", j'ai eu des plis
- Sewing 1/2 inch piping cord is also tricky...  I might make falt handles the next time...
Coudre du passepoil de 1/2 pouce st aussi difficile...  Je vais peut-être faire des poignées plates la prochaine fois...
- Do not forget to place loops under biais BEFORE sewing.  I could also use round fabric hair elastics
Ne pas oublier de coudre les anneaux sous le biais.  Je pourrais aussi utiliser des élastiques de cheveux en tissu pour faire les anneaux
- Place closures at RIGHT SPOT...
Placer boutons et anneaux AU BON ENDROIT..
- Biais making is FUN !!!
Faire du biais est AMUSANT !!!


So I finally have my iron cozy and Geraldine is very happy, and protected.
J'ai donc finalement mon étui à fer et Géraldine est très contente, et protégée.


My Boubou is also very happy with life:
Mon Boubou est aussi très heureux de sa vie:


Stay tuned for many more posts !
Revenez pour plusieurs autres entrées !

Peace

Claudia

Monday, 9 April 2012

A Long day and A Short NIght...

Hey folks,

Still working like a madwoman on my fashion show pieces.  Yesterday, I tackled the BIG ONE:  The prom dress.  Not that I have never made a dress but never WITH MY OWN PATTERN...  Yikes !  I am fairly new in terms of drafting patterns and I thought that making clothes from existing patterns was kind of hypocritical to be thought of as a "designer"....  Maybe it is me but I am a purist.  I wanted to have designed ALL my clothes, either inspiration from existing pieces (who can actually think they are not inspired by someone else...) or actually drafting my own patterns.  That being said, in my book (and my life) NEW = MISTAKES... Usually, I am fairly philosophical about mistakes (yes, yes, mistakes help you grow - at least, that is what I tell my students ;)...  But when TIME is of the essence, it is less easy to take...  So I try to take notes of the mistakes I make to NOT make them again, when (IF) I make this pattern again...  Here are some of them:

Je suis toujours en train de préparer mon défilé de mode et hier, j'ai commencé le GROS morceau - ma robe de bal !!!  C'est pas que je n'aie jamais fait de robe mais jamais avec MON PROPRE PATRON...  Ayoye...  Ça ne fait pas trop longtemps que je fais mes propres patrons et je crois que fabriquer des vêtements à partir des patrons des autres est un peu hypocrite pour se dire "designer" et dire que ce sont mes créations...  Peut-être que c'est moi mais je suis une puriste.  Je voulais avoir dessiné TOUS mes vêtements - soit par inspiration de vêtements existants (quiconque peut penser ne pas être inspiré par quelqu'un d'autre...) ou dessiner mes propres patrons.  Ceci étant dit, dans mon livre (et dans ma vie) NOUVEAU = ERREURS...  Je suis habituellement philosophique au sujet des erreurs (oui, oui, les erreurs nous font grandir - du moins, c'est ce que je dis à mes élèves;)... Mais quand il a un facteur TEMPS, c'est moins facile à prendre...  Alors j'essaie de prendre mes erreurs en note pour ne PAS les refaire quand (si) je refais le patron encore.  En voici quelques unes:

- When you line a gown bodice with no straps, cut the lining piece shorter because the finishing inside drops the sewing line towards the lining. 
- Lorsqu'on double un corsage sans bretelles, il faut couper la doublure plus courte que le corsage car la finition à l'intérieur fait descendre la couture
Do you see the joining line towards the inside ?


- Interfacing stretchy material REMOVES the stretchiness... ugh...  rookie mistake...
- Entoiler du tissu extensible enlève l'extensibilité... agh... un erreur de débutant...
- Cutting 3 m of tulle requires TWO people !
- Couper 3 m de tulle prend DEUX personnes !
- T-shirt fabric is HEAVY !!!  Cut the skirt panels with less fabric on top (than I did)
- Le tissu de t-shirt est LOURD !!!  Je couperai les panneaux avec moins de tissu à froncer en haut


- Do NOT have a joining seam close to the top (into the ruffles) - it does NOT ruffle well ! 
- NE PAS placer une couture entre deux panneaux en haut car cela fronce très mal !


- A gathering foot  does not work on tulle... 
- Un pied gondoleur ne fonctionne pas sur la tulle...
- Use BASTING STITCHES as much as possible before stabilizing your seams
- Utilisez un BÂTI le plus possible avant de stabiliser les coutures

So here are some pictures of the process (taken well into the night...)
Photos du processus (prises dans la nuit...):


Here is the bodice: (corsage)


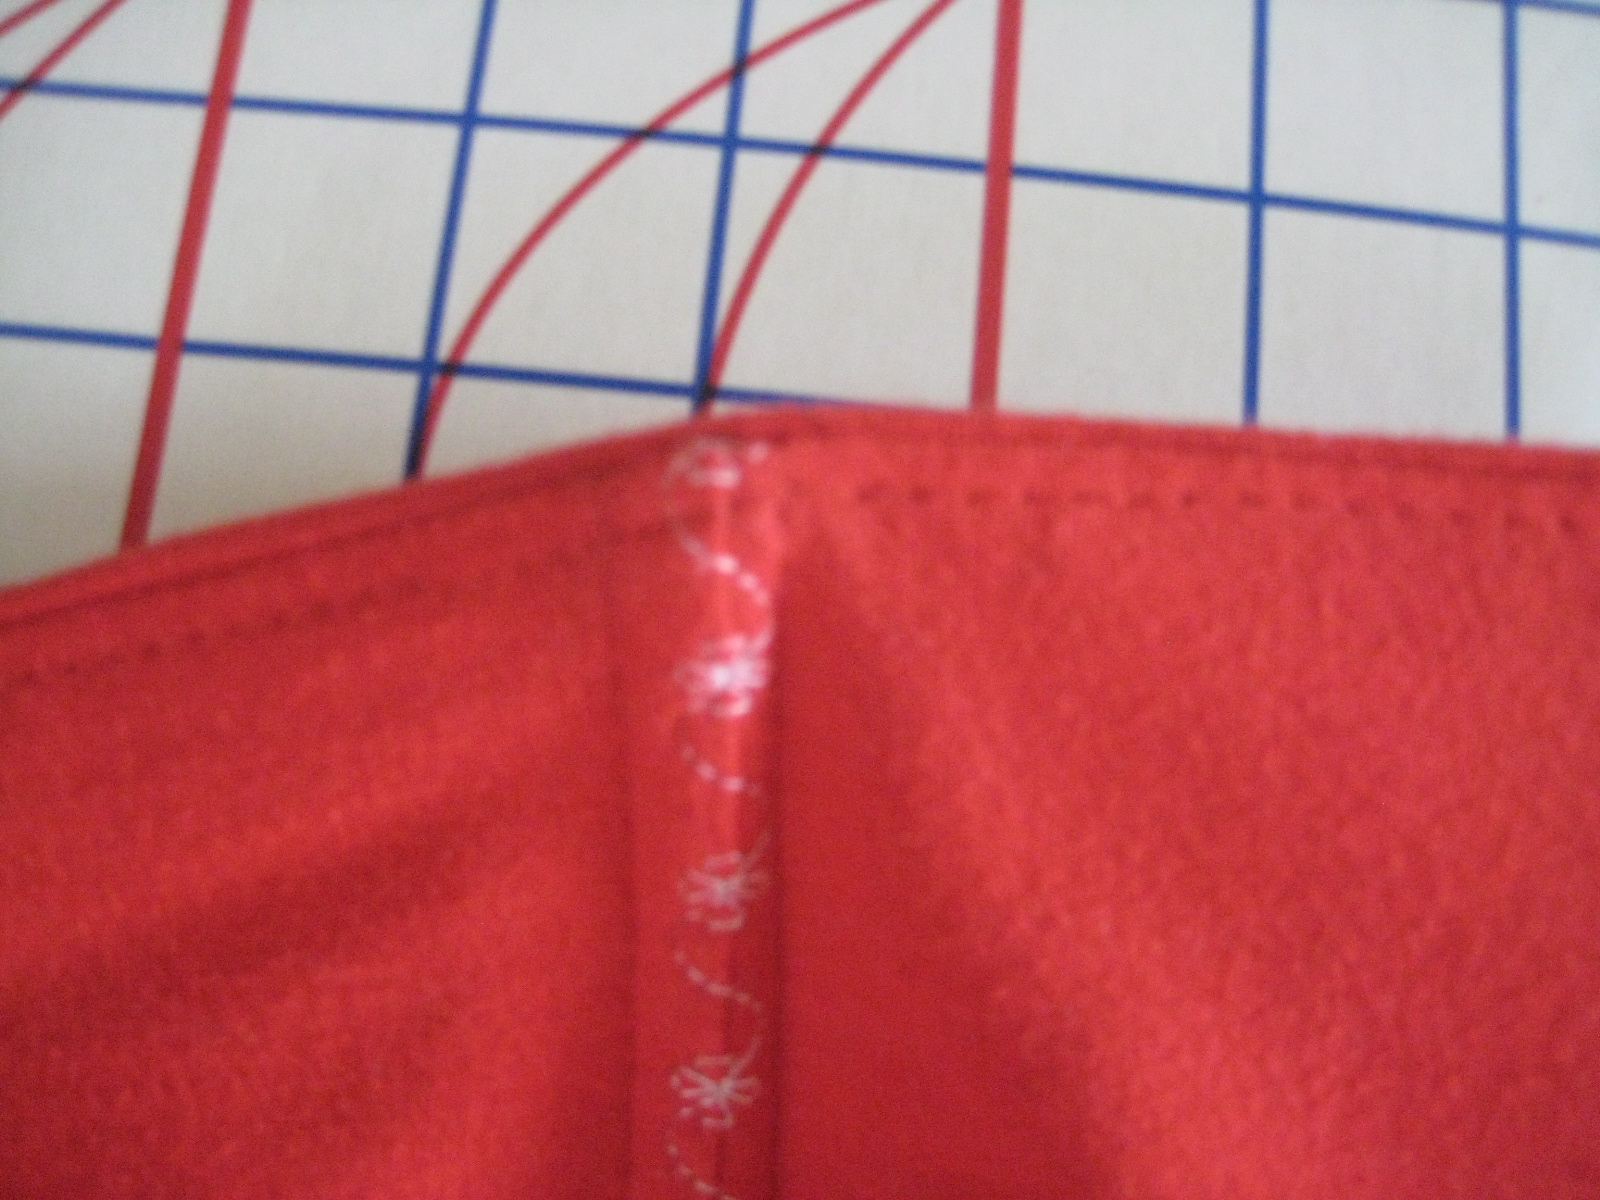
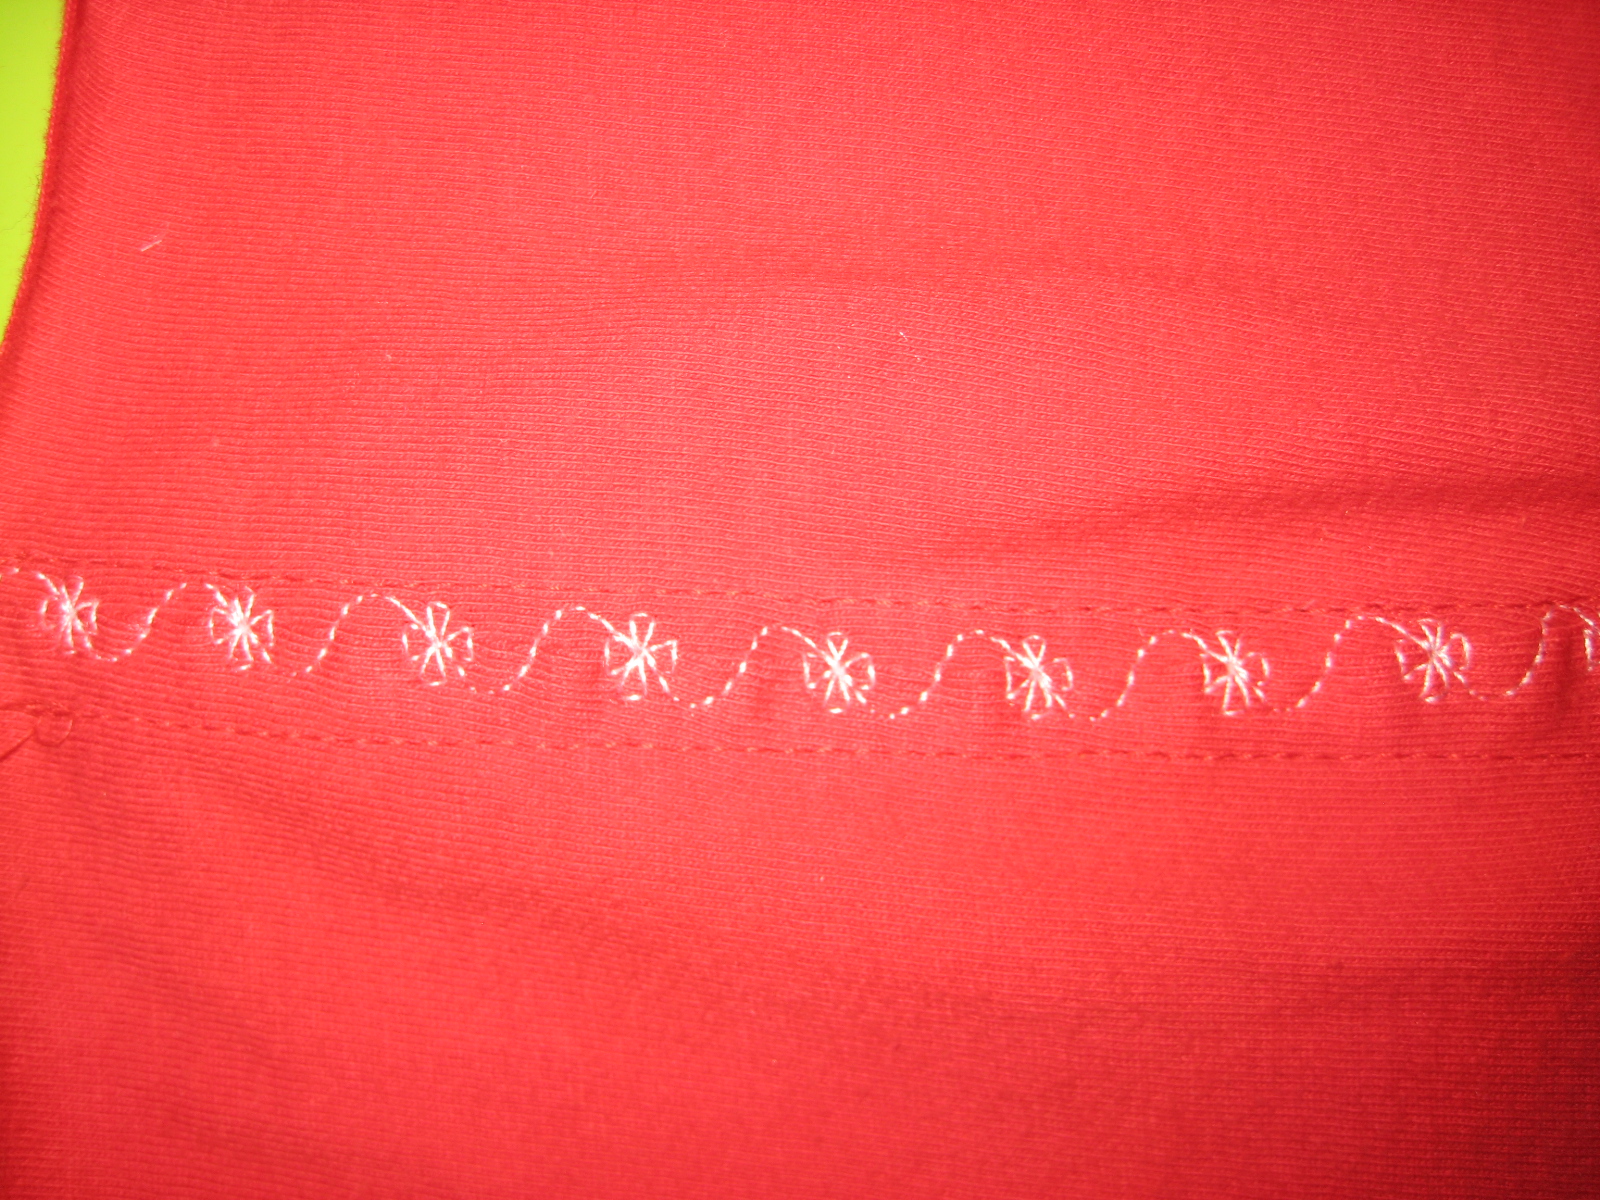
Lining of the bodice.  I used a decorative stitch to make a nice touch:
Doublure du corsage.  J'ai utilisé un point décoratif pour donner une jolie touche:


As I don't have a poofy-enough crinoline, I decided to make one.  BUT, I don't have that much time on my hands.  I DID buy some stiff cotton (a sheet) but I had this cool used skirt and thought it looked perfect for a fast-made (I THOUGHT) crinoline.
Comme je n'ai pas de crinoline assez "poofie", j'ai déciéd d'en faire une.  MAIS je n'ai pas trop de temps devant moi.  J'avais acheté du coton raide (un drap) mais j'avais cette jupe paysanne et je croyais qu'elle avait l'air parfaite pour faire une crinoline rapidement (je croyais).


So I proceeded to cut up MANY, MANY, MANY meters of tulle:
Alors j'ai commencé à couper des MÈTRES et des MÈTRES et des MÈTRES de tulle:


You can see, I am wearing my bodice.  And all my sewing paraphernalia on the table...
Je porte mon corsage et tous mes accessoires de couture sont sur la table...

So after many hours, some curse words and, fortunately, no needle-breakage or thread-snapping, here is what my WIP crinoline looks like: (not quite finished yet)
Donc après plusieurs heures, quelques jurons et, heureusement, aucune aiguille ou fil brisé, voici ce dont ma crinoline a l'air (pas encore tout à fait terminée)

A little tip to gather LENGTHS of fabric:  Find the 1/4, 1/2 and 3/4  of your piece and sew a red thread at those points so you can identify them quickly: (not my best work in picture taking but I hope you get the point):
Un petit truc pour froncer des LONGUEURS de tissu: trouver les 1/4, 1/2 et 3/4 du tissu et coudre un petit fil rouge à ces endroits pour les identifier rapidement (pas ma meilleure photo mais j'espère que vous comprenez)


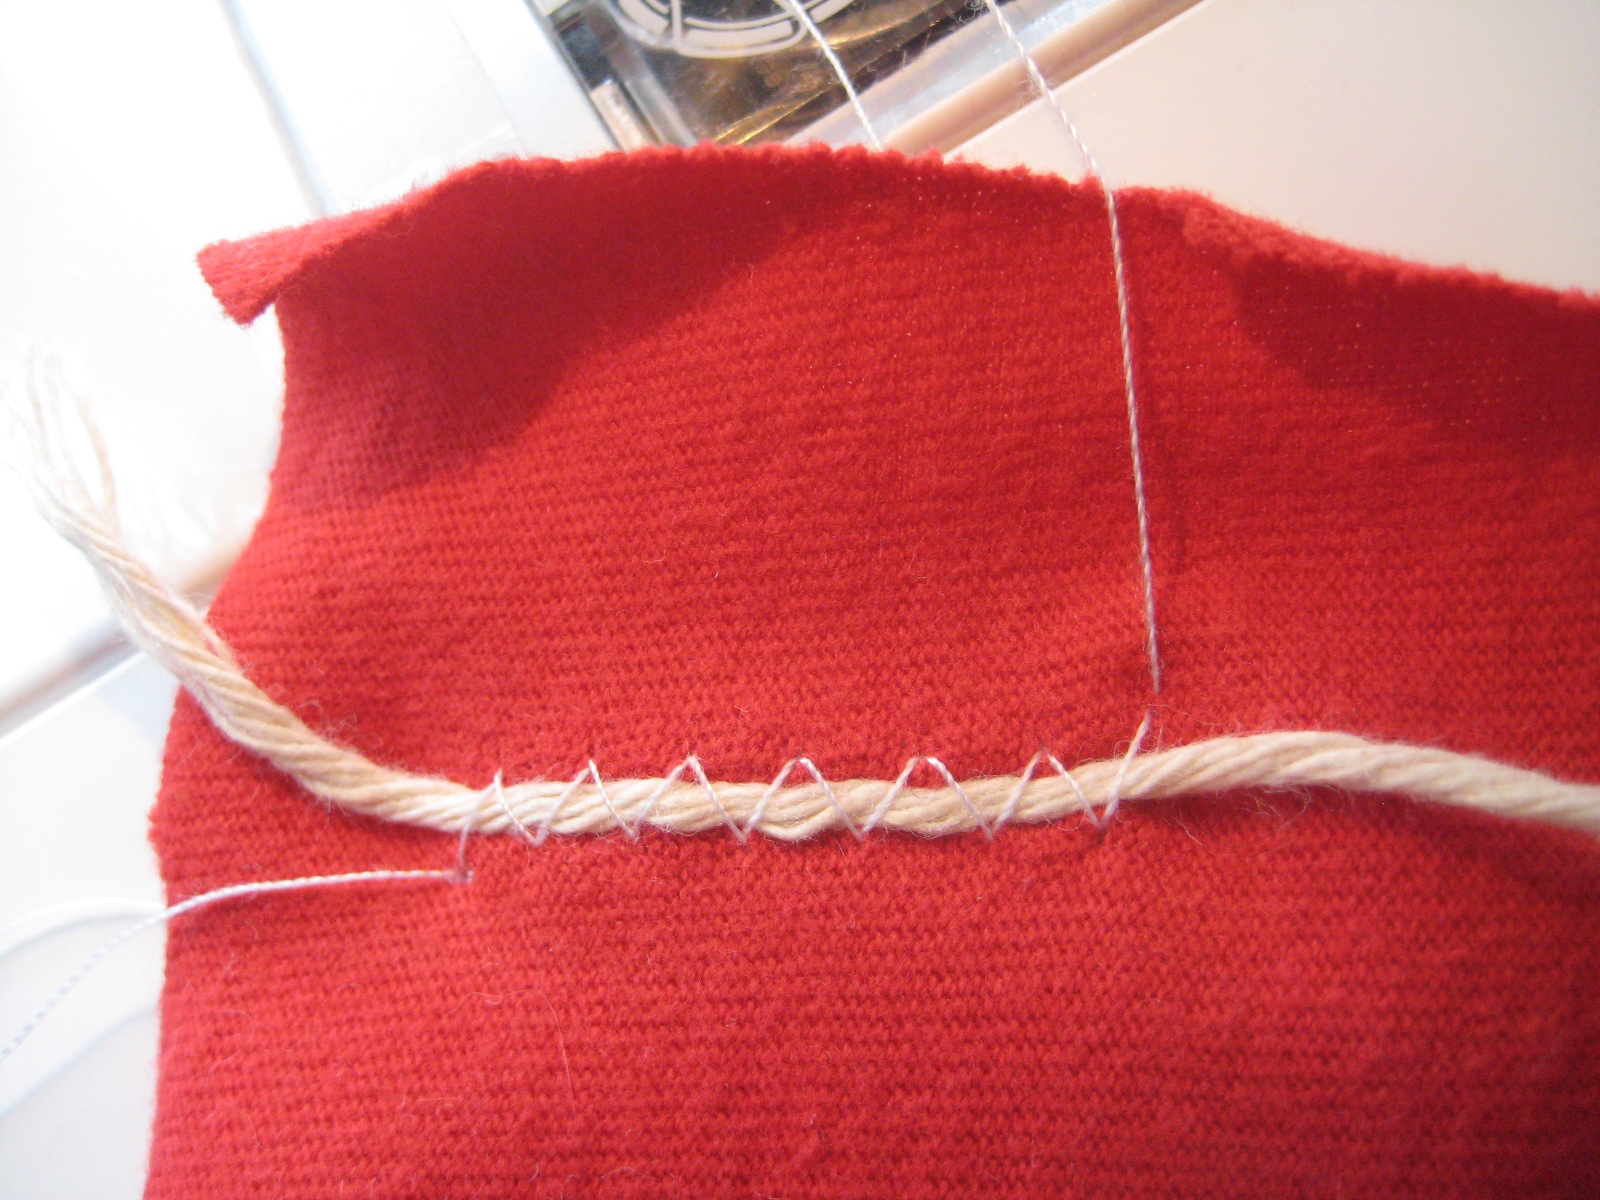
Also, to gather, use a butcher string and a wide and long zig zag over top.  It will be a cinch to gather afterwards.  
Aussi, pour froncer, utiliser une corde de boucher et un large et long point zig zag.  Ça sera très facile de froncer après.


So, not done YET, but coming along nicely.  Here it is:
Donc, pas encore fini, mais ça s'en vient.  La voici:


I think it looks OK.  Of course, the lining is longer than the bodice... 
Je crois que c'est correct.  Évidemment, la doublure est plus longue que le corsage...

The boning is now on the princess seams on the front (as per Angela Johnson's dress description - Thank you Angela !).  The hem is not done yet and it will be the LAST thing to be made.  I probably will serge the edge and hem it by hand to sculpt it (although I kind of like the little points).  I plan on letting the petticoat tulle stitck out a bit for a pop of colour.  NOW, I feel that the bodice is REALLY plain and not like me...  I was thinking of embellishing it with some freehand sewing and rhinestones BUT I have NEVER (of course) freehand sewed before...  and I don't consider myself a graphic artist... Soooo, I am still thinking of something.  I thought of sequins (don't mind sewing by hand) but I don't know how to arrange them... Any thoughts ?...  Here is the "hem" right now...
Les baleines sont maintenant sur les couture du devant (selon Angela Johnson - Merci Angela !).  Le bord n'est pas encore fait mais il sera le DERNIER à être fait.  Je vais probablement surjeter le bord et le coudre à la main pour être capable de le sculpter (malgré que j'aime bien les petites pointes).  MAINTENANT, je trouve que le corsage est VRAIMENT simple et ne me représente pas...  Je pensais l'embellir avec de la couture "freehand" et des pierres de rhin MAIS je n'ai JAMAIS fait ça avant (évidemment)... et je ne me considère pas une artiste graphique...  DONC, je suis encore en réflexion.  Je pensais des sequins (ça ne me dérange pas de coudre à la main) mais je ne sais pas comment les arranger.  Des idées ?  Voici le bord en ce moment:


Also, I FINALLY broke open my, now, new best friend:  My Oliso iron.  It is a SMART iron with LEGS !!!  If you don't know about this little gem, here is what it looks like :
J'ai aussi FINALEMENT ouvert mon nouveau fer Oliso.  Un fer INTELLIGENT avec des PATTES.  Si vous ne connaissez pas ce bijou, le voici:


It is A-MA-ZING !  You leave it horizontally (so no accidental tipping) and it gets on little legs.  When you so much as gently touch the handle, the legs go back in !  I am in LOVE !!! (This is not a paid endorsement).
C'est EX-TRA-OR-DI-NAI-RE !  Tu le laisses horizontal (pas de chute accidentelle) et il se met sur ses petites pattes.  Quand tu ne fais qu'effleurer la poignée, les pattes se rentrent !  Je l'ADORE !!!  (Je ne suis pas payée pour la pub).

OK, so I think I bored you enough for now.  I will TRY to finish my dress this week-end but I might not...  Yikes !  
OK, je pense que j'ai assez déblatéré.  Je vais TENTER de finir ma robe ce week-end mais peut-être pas...  Yikes !

Here is what is left for the fashion show:
Voici ce qu'il reste à faire pour le défilé:

- Finishing the prom dress (attaching the bodice (gulp), finishing the crinoline (with plastic boning I think), hem, embellishing (maybe...), making a fascinator)
- Finir la robe de bal (attacher le corsage à la jupe (gulp), finir la crinoline (avec un cerceau en baleines je crois), embellir (peut-être...), faire un bibi)
- Making the top for the raincoat/leggings piece, finishing hem of the raincoat
- Faire le haut pour le manteau de pluie/leggings, finir les bords du manteau de pluie
- Making a small hat for the girl (maybe)
- Faire un petit chapeau pour la fillette (peut-être)
- Making my own dress (absolutely)
- Faire ma propre robe (absolument)

And of course, my LARGE pile of grading.  Ugh...
Et évidemment, mon ÉNORME pile de correction...  Agh...

Peace 

Claudia