For those of you who don't know what Milnery is, it is making HATS. Well, it might be
a bit pompous to call what I made "milnery" but nevertheless, it is the most intricate and
complex hat I have made yet.
a bit pompous to call what I made "milnery" but nevertheless, it is the most intricate and
complex hat I have made yet.
Alors c'est mon premier essai à faire un vrai chapeau. J'ai fait des casquettes, des petits
chapeaux soleil et même des bérets, mais c'est la première fois que je fais un chapeau
semi-rigide, entoilé.
chapeaux soleil et même des bérets, mais c'est la première fois que je fais un chapeau
semi-rigide, entoilé.
I needed a good sun hat: i.e. large brim. I also wanted it to be a bit unique. I thought of
including some pockets on the hat. In fact, I was supposed to have this hat for my DR trip
last year and the pockets would have been useful for carrying the room key and some money
on the beach. But with all the sewing I had to do, I did not finish the hat. Now, since our raised
beds are finished and planted, thanks to my sis, I need a gardening hat. What better hat to
use than my "pockets" hat !
J'avais besoin d'un bon chapeau de soleil i.e. avec un gros rebord. Je le voulais unique.
J'ai pensé inclure des poches. En fait, je voulais l'avoir pour mon voyage en République
dominicaine l'année dernière et les poches auraient été pratiques pour la clé de chambre
et de l'argent sur la plage. Mais avec toute la couture que je devais faire, je n'ai pas fini
le chapeau. Maintenant, avec les caissons de jardin prêts et plantés, merci à soeurette,
j'ai besoin d'un bon chapeau de jardinage. Quelle meilleure occasion que d'utiliser mon
chapeau "à poches" !
So the principal shell is made from UGLY pants, which I have not taken a picture of, sorry.
They came from my mother. I made the pattern from measuring and busting out my
geometry formulas... (who says math is useless in life - well, in the life of a seamstress
anyways ?). I wanted the brim to be stiff enough to stand by itself but to be able to fold it a
bit also. So I figured out the pattern and cut out the pieces. Don't have any pictures of
the process because I was not blogging at that point and was no picture ninja !
Le chapeau principal est fait à partir de pantalons HORRIBLES, que je n'ai pas pris en
photos, désolée. C'est ma mère qui me les a donnés. J'ai fait le patron en mesurant et
utilisant mes formules de géométrie... (qui dit que les maths sont inutiles dans la vie - dans
la vie d'une couturière en tous cas ?) Je voulais un rebord assez rigide pour tenir par lui-même
mais aussi être capable de le plier un peu. J'ai donc figuré le patron et coupé les morceaux.
Je n'ai pas de photos du processus car je ne bloggais pas encore et je n'étais pas une maniaque
de la caméra !
I found some cute flowered fabric from my stash to line the whole thing. So I cut the pieces of
the hat in the lining fabric.
the hat in the lining fabric.
J'ai trouvé un tissu mignon avec des fleurs pour doubler le chapeau. J'ai donc découpé les
morceaux du chapeau dans le tissu de doublure.
morceaux du chapeau dans le tissu de doublure.
Of course, I started with the zippered pockets, making welts before inserting the zippers. Then,
I used stiff interfacing to line the brim.
I used stiff interfacing to line the brim.
Évidemment, j'ai commencé avec les poches "zippées", en faisant les ouvertures dans le
chapeau. Ensuite, j'ai utilisé de l'entoilage épais pour doubler le rebord.
chapeau. Ensuite, j'ai utilisé de l'entoilage épais pour doubler le rebord.
When both shell and lining were made, it came time to put them together. I serged the edge
of the shell and was going to sew both pieces good sides together and turn them and, lo and
behold, the lining was WAY too large !!! Ugh... now I remember why I did not finish this hat
before the trip and it has been in my WIP drawer for the past year... What to do ? No choice
but to handsew and give some allowance... A good 2 INCHES of it ! So on to thread a needle
I go. Finger pressing the edges (lining and shell), I first baste the two pieces together, checking,
with pins, how the allowance needs to be given. After having satisfactorily basted the entire edge
of the brim, I used an invisble stitch to join both layers together. Finally, I took out the basting
and ironed the brim with steam.
Lorsque les deux coquilles, doublure et chapeau, étaient faites, il fallait les joindre ensemble.
J'ai surjeté le bord du chapeau principal et je voulais coudre les deux morceaux endroit
contre endroit et retourner, la méthode traditionnelle, mais, lorsque j'ai vérifié le tout avec
des épingles, la doublure était BEAUCOUP TROP LARGE que le chapeau principal !!!
Ugh... maintenant je me rappelle pourquoi le chapeau n'est pas terminé et qu'il traîne dans
mon tiroir de "travaux en cours" depuis un an. Que faire ? Pas d'autre choix que de coudre
à la main en donnant de l'aisance. Un bon 5 CENTIMÈTRES d'aisance ! Alors j'enfile une
aiguille. En pliant les tissus avec les doigts, je bâtis les deux tissus ensemble, en vérifiant
fréquemment avec des épingles, l'aisance nécessaire au total. Après avoir bâti de façon
satisfaisante, j'ai utilisé un point invisible pour coudre le rebord. Finalement, j'ai enlevé les
points bâtis et repassé le bord à la vapeur.
The thing about reusing clothes is you don't always have the choice about the grain of the
fabric... When my hat was done, I felt it did not fall properly and was wonky. Enter these:
fabric... When my hat was done, I felt it did not fall properly and was wonky. Enter these:
Une chose importante quand on réutilise des vêtements, c'est qu'on n'a pas toujours le choix
du sens du tissu... Quand j'ai terminé mon chapeau, je trouvais qu'il ne tombait pas bien et
qu'il était croche. Alors voici:
du sens du tissu... Quand j'ai terminé mon chapeau, je trouvais qu'il ne tombait pas bien et
qu'il était croche. Alors voici:
 |
Thin metal wire and cutters
Fil de métal fin et pinces coupantes
|
Yes, I decided to insert a wire at the brim to keep it stiffer. And it works beautifully !
Oui, j'ai décidé d'insérer un fil de métal au bord de mon rebord pour le rendre un peu plus
rigide. Et ça fonctionne merveilleusement !
rigide. Et ça fonctionne merveilleusement !
 |
Brim down.
Rebord descendu.
|
 |
Brim folded
Rebord plié.
|
EDIT: Here are more pictures of the hat:
J'inclus d'autres photos du chapeau:
J'inclus d'autres photos du chapeau:
 |
| Bird'seye view Vue de haut |
 |
| One side, white zipper Un côté, fermeture blanche |
 |
| Other side, teal zipper. You can really see the pants seams (work I did NOT have to do !) L'autre côté, fermeture turquoise. ON peut voir les coutures du pantalon (du travail que je n'ai pas dû faire !) |
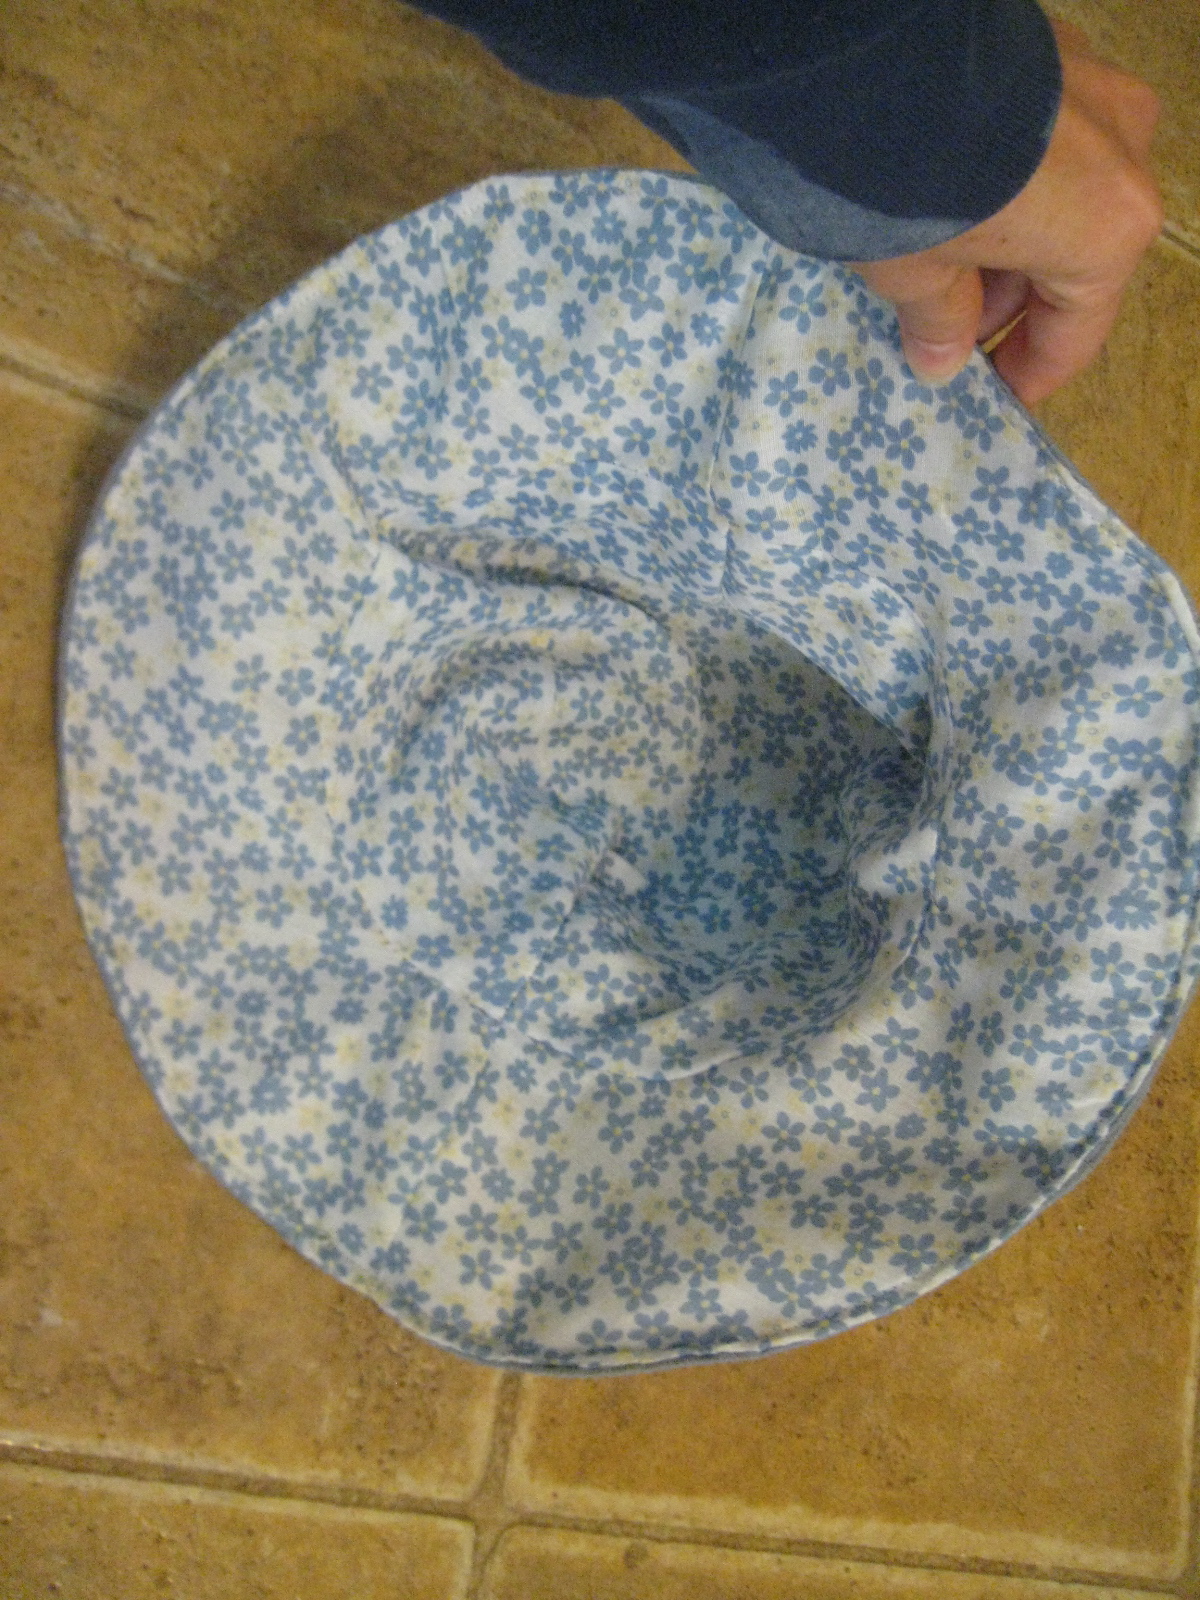 |
| Interior of the hat with my cute flower fabric Vue de l'intérieur avec mon joli tissu fleuri |
I think it looks rather nice. I can leave the brim down or I can fold it a bit. I prefer it folded
because I get to see the flowers.
because I get to see the flowers.
Je crois qu'il est joli. Je peux laisser le rebord vers le bas et je peux le plier. Je le préfère plié
parce que je vois les fleurs.
parce que je vois les fleurs.
The last thing I need to do is to add a tag in the inside at the back. For that, I need my newly
ordered stamp ! Can't wait to show you all !
ordered stamp ! Can't wait to show you all !
La dernière chose que je dois faire est d'apposer une étiquette au dos à l'intérieur. Pour ça,
j'ai besoin de l'étampe que je viens de commander. J'ai bien hâte de vous montrer !
j'ai besoin de l'étampe que je viens de commander. J'ai bien hâte de vous montrer !
Here is what I learned:
Voici ce que j'ai appris:
- Lining should be in the same stretchiness of fabric
La doublure devrait avoir la même élasticité que le tissu principal
- A brim should be cut on the bias (easier to hem...)
Couper le rebord sur le biais (plus facile de faire le bord...)
- You should press hat pieces BEFORE they are sewn because after that, tough luck !
Il faut presser les morceaux du chapeau AVANT de les coudre parce que après, bonne chance !
- Use double-sided tape on the edge
Utiliser du ruban collant des deux côtés pour joindre le bord (doublure et chapeau)
- I could bind the edge with bias
Je pourrais finir le bord avec du biais
- Interface the head part as well
Entoiler la partie "tête" aussi
- Use a very thick interfacing, for this type of hat anyways
Utiliser un entoilage très épais, pour ce type de chapeau du moins
Hope you enjoyed
Peace
Claudia
Love the big brim! Over here we need hats that provide good shade. Very clever refashion and great going on making with your own pattern.
ReplyDeleteThank you Pam. I feel I can get more of what I really like when I make my pattern.
DeleteLovely - would have never thought of using wire to stiffen the brim!
ReplyDeleteHi Agy. I thought of it after I had joined the two pieces together so it was a bit tricky but I am really glad I did it. I used transparent thread because I did not have the right color. Thanks for stopping by !
DeleteLove this! I'm going to try it with a heavy stabilizer in the brim. I'm off to the beach in a week. This will be perfect.
ReplyDeleteHello Baye and welcome. Let me know how it turns out !
Deletereally inspiring ideas you ve made,i hope there would be more of this type,you ve showed us many ideas on styles choosing,like those on http://ww.prettytailor.com,if its ok,i am willing to share with you my exp ever buying on that site,ty^^again
ReplyDelete